
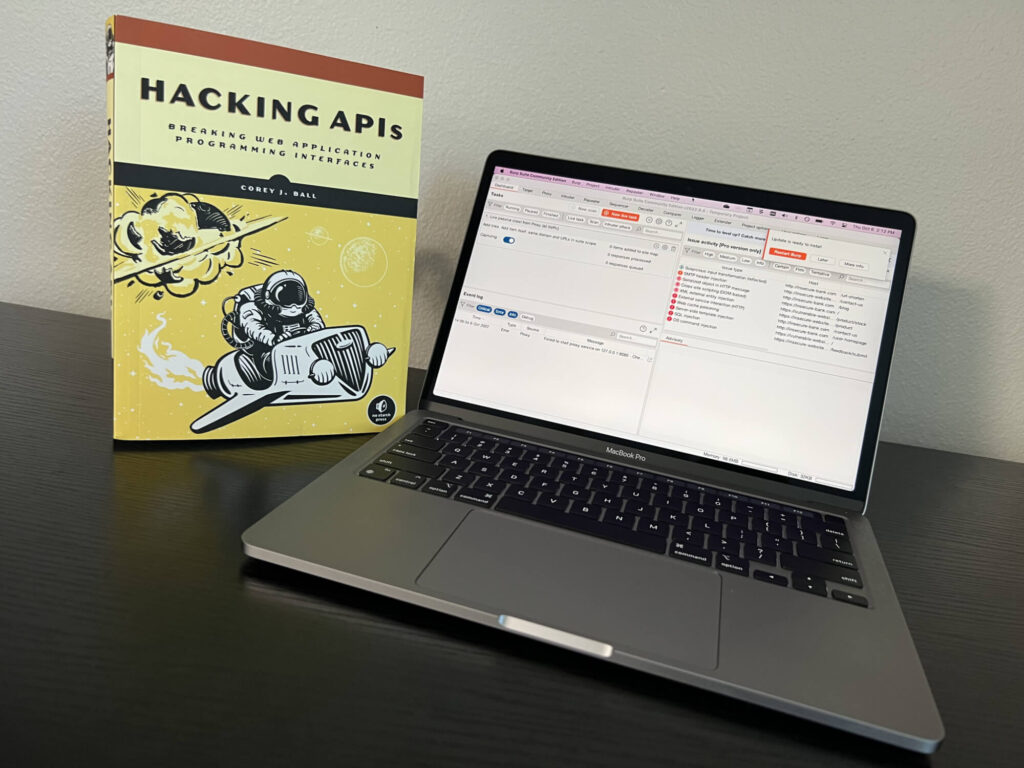
I’ve been really digging into Bug Bounties and Web Application pentesting recently, and while it’s widely accepted to use Kali as your platform to test from (and a lot easier to get set up on), I really wanted to work directly from my M1 MacBook.
So I set out to install every tool found in Chapter 4: Your API Hacking system, within MacOS.
\\Homebrew
A majority of the tool installs are made significantly easier by using Homebrew, a command line based package manager for MacOS.
To install Homebrew, navigate to https://brew.sh and follow instructions from that page, or paste the following command into your Terminal.
/bin/bash -c "$(curl -fsSL https://raw.githubusercontent.com/Homebrew/install/HEAD/install.sh)"\\Git / Python / Golang
Major tools included at the top here for obvious reasons. Gonna need git down the road for obvious reasons, and most powerful tools/scripts run off either Python or Golang.
Python3 is already installed with most modern MacOS versions, so we just need git and golang:
brew install git
brew install go
\\Burpsuite
Burpsuite is very easy to install from their website and following instructions for normal install. The remaining steps for installing FoxyProxy and the required cert are the same as in the book, though I may create a separate post for this process.
\\Postman
Postman is also a very easy install from their website. Choose the Intel or Apple chip, move to your application folder, and easily open to use.
\\Amass
This one requires adding a new tap to brew, easy enough.abb8c3This one requires adding a new tap to brew, easy enough.
brew tap caffix/amass
brew install amass
\\Kiterunner
The commands included in the book are for install on Linux, particularly Kali. Luckily the file system is almost identical and the commands will work here, too.
git clone https://github.com/assetnote/kiterunner.git
cd kiterunner
make build
sudo ln -s $(pwd)/dist/kr /usr/local/bin/kr
This script will clone the git repo for kiterunner, change into the newly cloned directory, make the build (golang) and then create symbolic link to kr so that using the command kr will run kiterunner from anywhere in the Terminal
\\wget
I went ahead and installed wget for later use, but also because it can be used to download the wordlist for kiterunner.
brew install wgetTo get the full set of wordlists from assetnote (WARNING: roughly 2.2GB!) use the following command provided on their website.
mkdir ~/api/wordlists
cd ~/api/wordlists
wget -r --no-parent -R "index.html*" https://wordlists-cdn.assetnote.io/data/ -nH
\\nikto
Another easy one.
brew install nikto\\OWASP Zap
This is cask install, which is just an extension to brew for larger binary files. Zap runs as a GUI application, but since it’s downloaded from the internet MacOS won’t be happy about it and will require additional steps.
brew install --cask owasp-zapYou can search for OWASP Zap and will find the GUI application. On first run it will be blocked, but navigate to System Preferences > Security & Privacy > General Tab and you should see the option to allow the recently blocked application.
\\wfuzz
This one had me pulling my hair out a little bit. The developer has some instructions on troubleshooting issues, but it appears some of the steps are a little out of date. Ultimately this is what it looks like:
- Install some pre-reqs for pycurl, a required python library (openssl and curl-openssl)
- Set a variable required for pycurl to see these pre-reqs
- Install pycurl using pip
- Install wfuzz using pip
- Set a $PATH variable for Python3 so wfuzz can run
This is how I ended up doing it:
brew install openssl
brew install curl-openssl

PYCURL_SSL_LIBRARY=openssl LDFLAGS="-L/opt/homebrew/opt/openssl@3/lib" CPPFLAGS="-I/opt/homebrew/opt/openssl@3/include" pip3 install --no-cache-dir pycurl

pip3 install wfuzz
I’m using ZSH, so I added the following line to my .zshrc file for Python3
nano .zshrc

export PATH=/Users/bbansbach/Library/Python/3.8/bin:$PATH
\\Wrapping Up
Last step here in the book is to start testing! There are some config steps that I didn’t cover here that the book covers fully and the steps are the same in the book as the are here. I really wanted to document the process of the actual install, which could be dramatically different on MacOS than Linux.